
Fried Oreos Recipe
These deep fried oreos are pure dessert magic. They are light, airy, fluffy, and seriously addictive.
Servings 8 servings
Calories 689kcal
Equipment
- Whisk
Ingredients
- 1 bag Oreo cookies about 1 lb.
- 2 cups all-purpose flour
- 2 tablespoons sugar
- ½ teaspoon kosher salt
- 1 teaspoon baking powder
- 1½ cup milk whole milk works best for richness
- 1 egg large
- Oil for frying vegetable oil, canola oil, or peanut oil
- Powdered sugar for dusting
Instructions
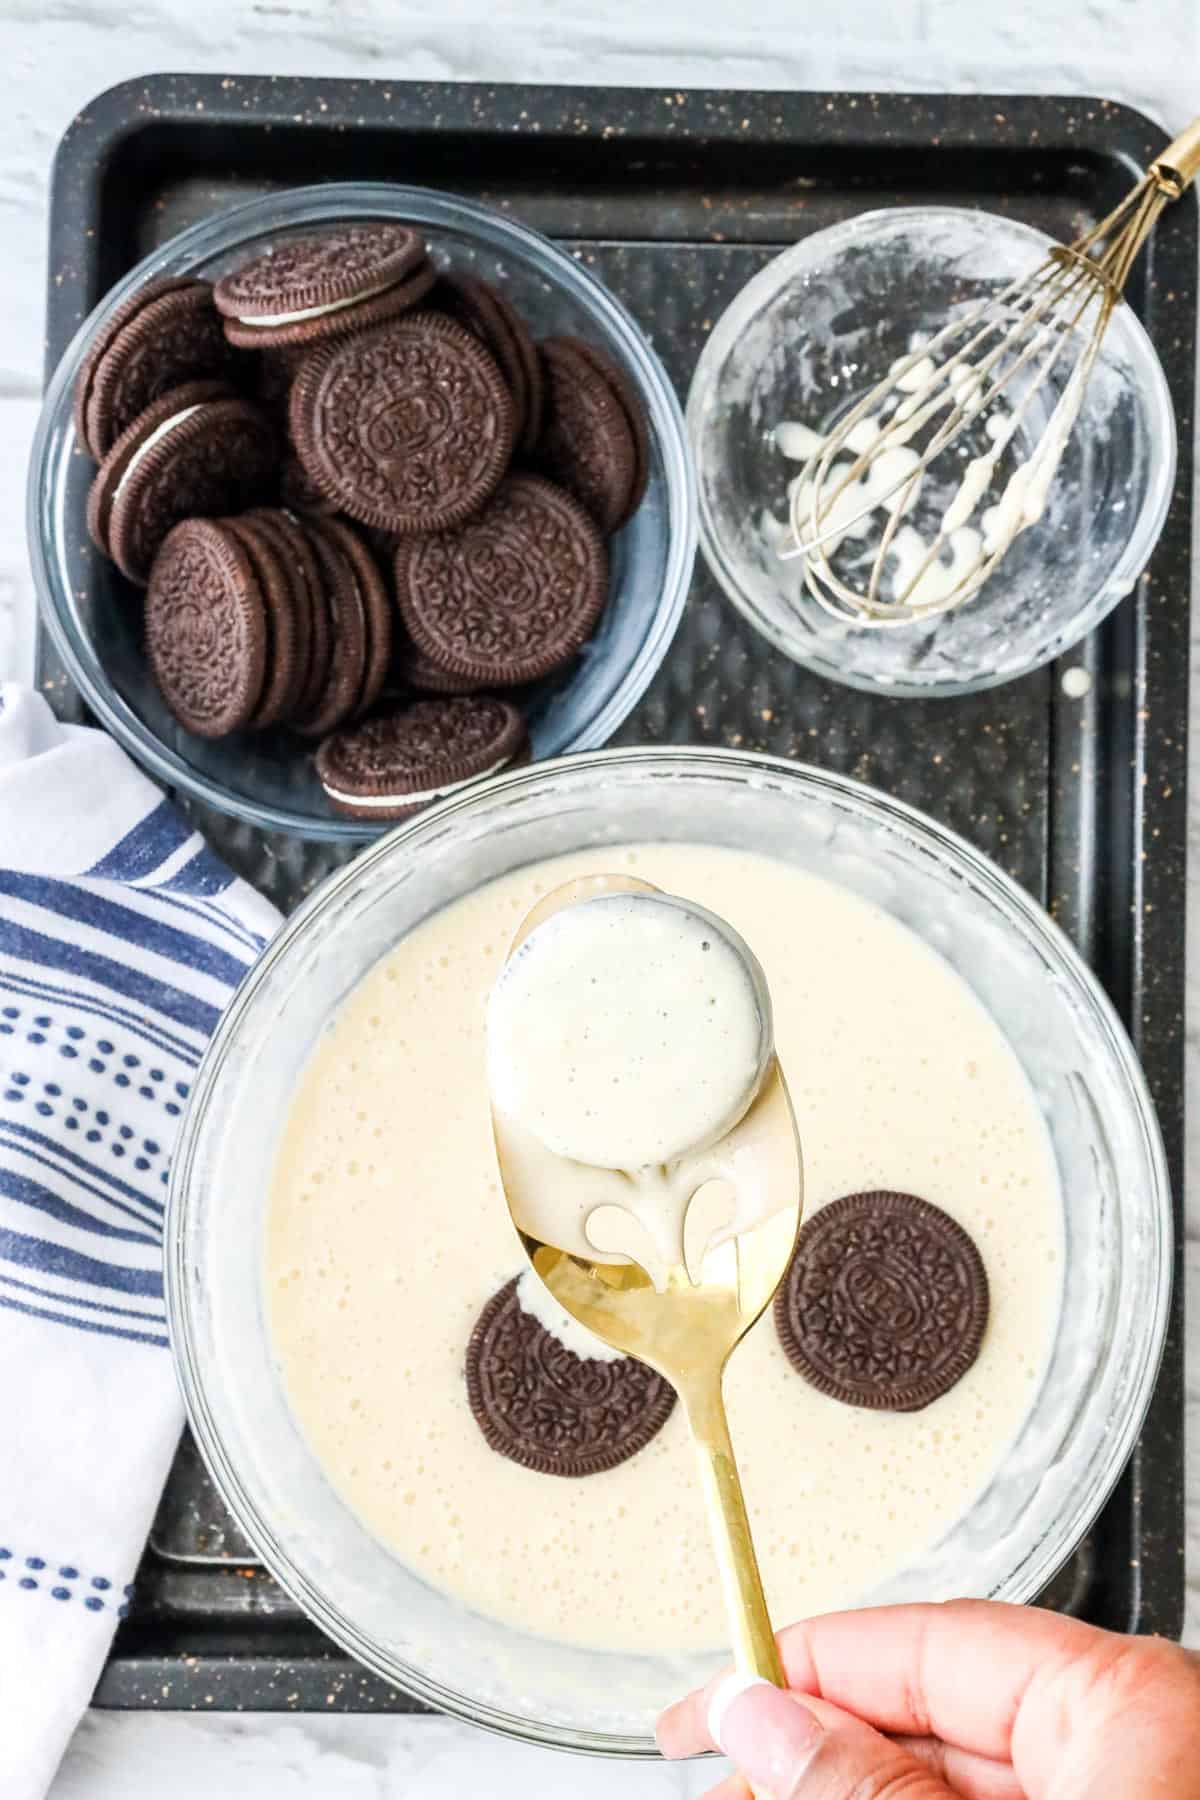
- Prep Your Frying Station: First, choose a heavy-bottomed pot, Dutch oven, or deep fryer for even heating. Fill it with about 2-3 inches of oil and heat it to 350°F (175°C). A kitchen thermometer is helpful here to maintain the right temperature. If the oil is too hot, this will cause the Oreos to burn; too cool, and they’ll absorb too much oil and turn greasy.Make the Batter: In a large mixing bowl, whisk together:Slowly mix until just combined. You want the batter to be thick but smooth—similar to pancake batter.If it’s too thick, add a splash of milk; if too thin, sprinkle in a bit more flour.2 cups all-purpose flour2 tablespoons sugar½ teaspoon kosher salt1 teaspoon baking powder1 cup milk1 large egg
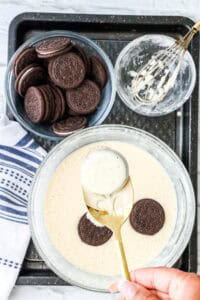
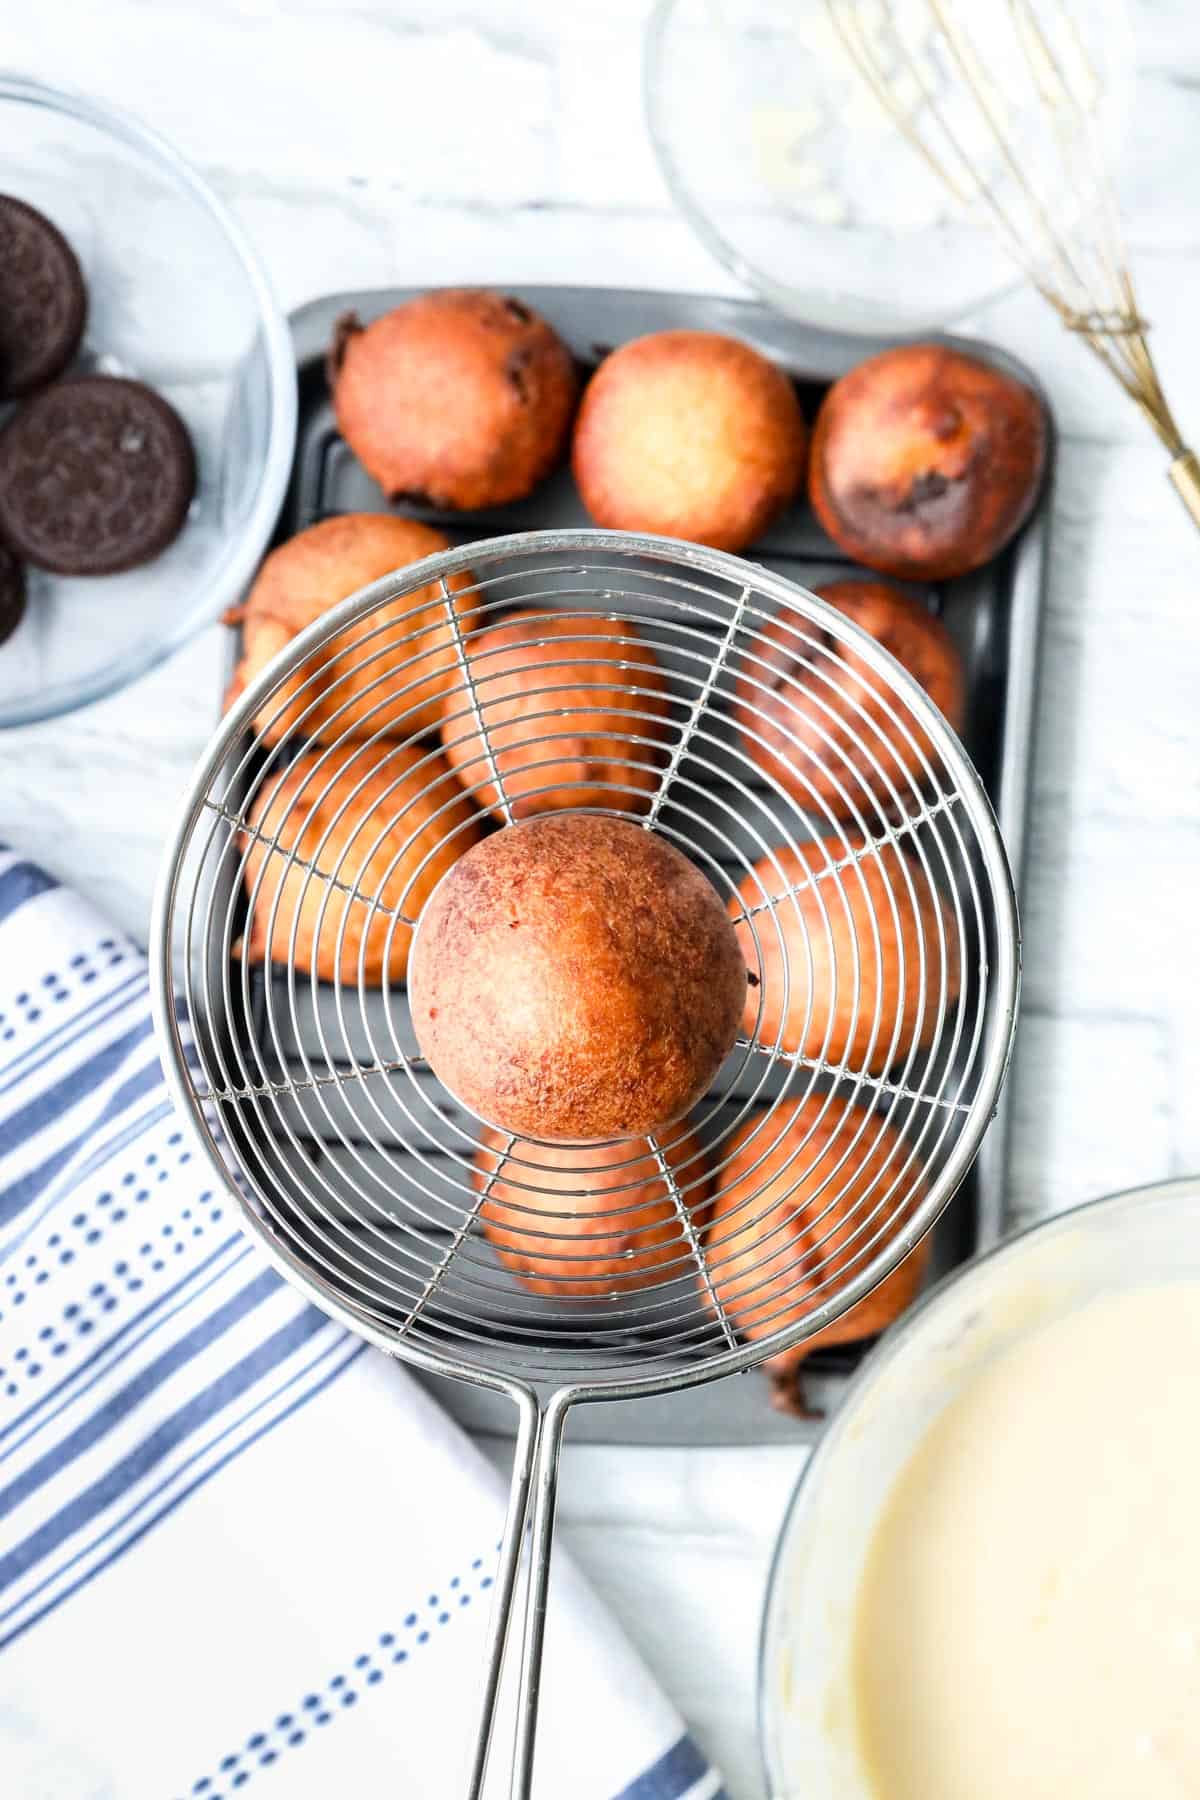
- Coat the Oreos: Take an Oreo cookie and dunk it into the batter, making sure it’s fully coated. Use a fork or skewer to gently lift it out, letting any excess drip off.Fry Until Golden: Carefully lower the batter-coated Oreo into the hot oil. Fry 3–4 cookies at a time, depending on the size of your pot, and fry for about 2–3 minutes, turning halfway through, until the batter is puffed and golden brown.Use a slotted spoon or spider strainer to transfer the fried Oreos to a paper towel-lined plate to drain.Dust and Serve: While the Oreos are still warm, generously sprinkle them with powdered sugar. Serve immediately for that irresistible, melt-in-your-mouth experience!

Notes
Tips for Frying Success
Making homemade fried Oreos can be easy if you follow a few simple tips:- Keep the Oil Hot: Frying at the right temperature (around 350°F) ensures a crispy, non-greasy result.
- Work in Batches: Don’t overcrowd the pan. Fry a few Oreos at a time so the oil temperature doesn’t drop.
- Use a Spider Strainer or Slotted Spoon: This makes it easier to lower the Oreos into the oil and remove them safely.
- Drain Well: Always let the fried Oreos rest on a paper towel-lined plate to absorb any excess oil.
- Reheating: Reheating in the oven or an air fryer helps keep the outside crisp, whereas microwaving can make them soggy.
- Batter Matters: Thick but pourable batter clings best to Oreos and creates a puffy, fluffy coat.
Ingredient Swaps and Suggestions
- Milk Alternatives: If you’re dairy-free, you can substitute almond milk, oat milk, or even coconut milk for a slightly different flavor.
- Oil Choices: Use a neutral oil with a high smoke point like vegetable oil, canola oil, or peanut oil. Avoid olive oil or anything with a strong flavor.
- Batter Enhancements: Add a splash of vanilla extract or a pinch of cinnamon to the batter for a deeper, more dessert-like flavor.
How to Store Deep Fried Oreos
Freshly fried Oreos are best eaten immediately when they're hot, puffy, and crispy. However, if you happen to have leftovers (unlikely, but possible!), here’s how to store them:Storing:
- Cool completely before storing.
- Place them in an airtight container, separating layers with parchment paper.
- Store at room temperature for up to 1 day or in the refrigerator for up to 2 days.
Reheating:
- Preheat your oven to 350°F (175°C).
- Place the Oreos on a baking sheet lined with parchment paper.
- Bake for about 5–7 minutes until warmed through.
Freezing:
Although not ideal, you can freeze deep fried Oreos for up to a month:- Flash freeze them first on a baking sheet.
- Transfer them to a freezer-safe bag.
- To reheat, bake directly from frozen at 350°F for 8–10 minutes.
Nutrition
Serving: 8Servings | Calories: 689kcal | Carbohydrates: 68g | Protein: 10g | Saturated Fat: 12g | Polyunsaturated Fat: 1g | Monounsaturated Fat: 1g | Cholesterol: 130mg | Sodium: 484mg | Potassium: 41mg | Fiber: 4g | Sugar: 26g | Calcium: 9mg | Iron: 22mg